Master data is always recorded in KENEXOS® according to the same principle.
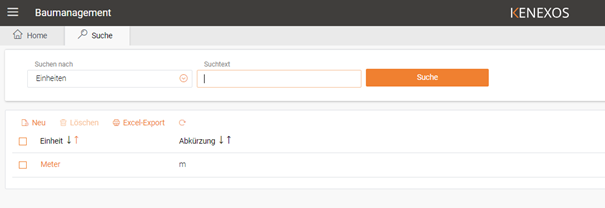
Open the “Search” tab, which is always open, and select the corresponding work area according to the following sections. You will then automatically receive a list of all existing master data, as shown below.
To edit existing master data, please click on the first entry in the results list and select “Edit”. To enter new data, click on the “New” symbol.
For master data that is entered in a tree structure (e.g. ticket category), please click directly on “Edit”.
1. ticket categories
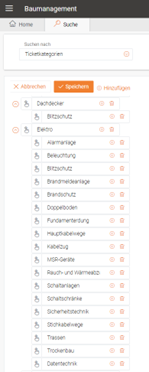
Proceed as described in the “General” section to switch to the “Ticket categories” workspace and click on “Edit”.
Select “Add” to add a new entry at the top of the list.
Select “+” to add another subordinate entry to an entry.
Select the recycle bin icon to delete an entry and confirm the following confirmation prompt.
To change the structure (superordinate and subordinate entries), you can move them using “Drag & Drop” via the symbol on the left-hand side of each entry.
Once you have made your adjustments, click on “Save” or “Cancel” if you do not want to save the changes.
2. ticket types
3. ticket priorities
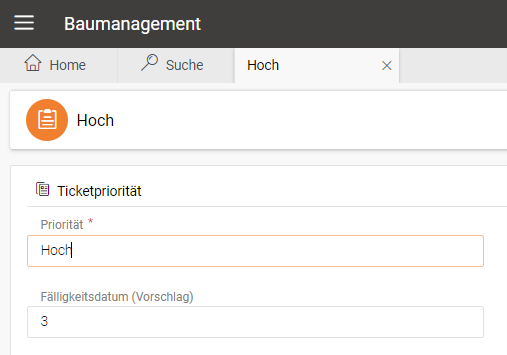
Proceed as described in the “General” section to switch to the “Ticket priorities” work area.
Enter the name of the priority in the corresponding “Priority” field. For “Due date (proposal)”, please enter an integer value that is added to the creation date in days.
Example: You record on 1.3. one ticket, with the priority “High” shown, three days are added and 4.3. is automatically set as the due date in the ticket.
4. ticket status
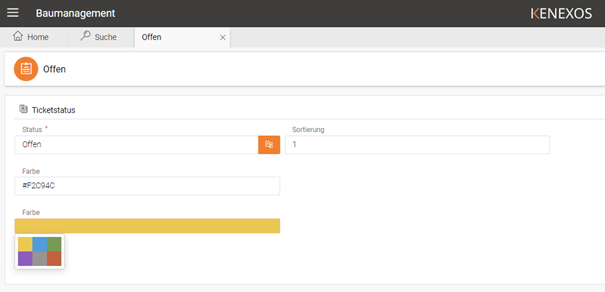
Proceed as described in the “General” section to switch to the “Ticket status” work area.
Please enter the name of the status under “Status”. Sorting is carried out according to the sort indicator shown under “Sorting”, which allows sorting by weighting that differs from the alphabet. Up to 6 statuses are currently supported, the color selection is made by clicking on “Color”.